Vinyl wraps have become a popular choice for car enthusiasts looking to enhance their vehicle's appearance without committing to a permanent paint job. Among the variety of colors available, Bronze Vinyl Wraps stand out for their unique, luxurious aesthetic. If you're new to vinyl wrapping, this guide will help you understand the basics of applying a bronze wrap to your car.
Why Choose Bronze?
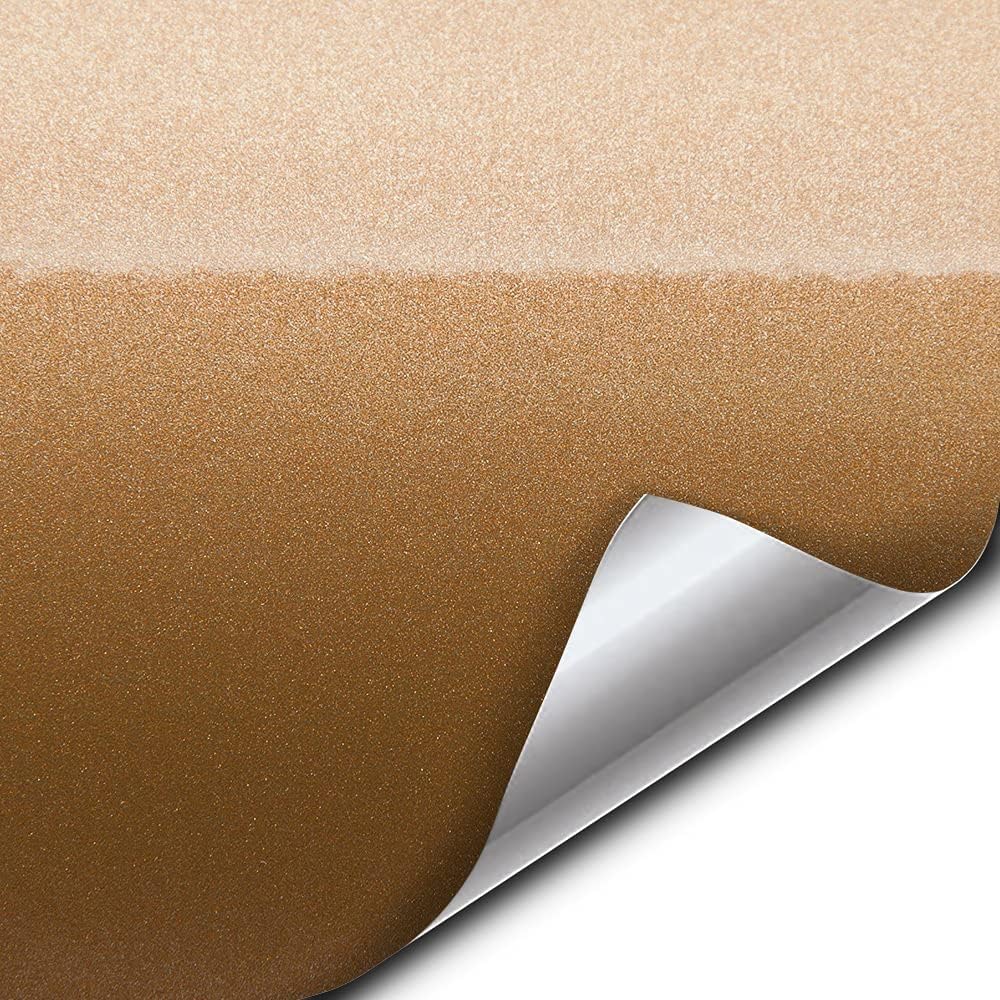
Bronze is a versatile and sophisticated color that blends metallic elegance with a warm, earthy tone. It offers a bold yet refined look, making it an excellent choice for those who want their vehicle to stand out while maintaining a classy appeal. Additionally, vinyl wraps protect your car's original paint from scratches and UV damage, making them both functional and fashionable.
Tools You'll Need
Before starting, gather the necessary tools for a smooth application process:
- Bronze vinyl wrap of your choice
- Heat gun or hair dryer
- Squeegee with felt edges
- Utility knife or precision blade
- Surface cleaner (isopropyl alcohol works well)
- Microfiber cloth
- Gloves (optional but recommended)
Preparing Your Vehicle
Preparation is key to achieving a flawless finish. Follow these steps:
1. Clean the Surface: Wash your car thoroughly to remove dirt and debris. Use isopropyl alcohol and a microfiber cloth to eliminate grease or residue.
2. Remove Obstacles: Detach parts like side mirrors, emblems, or trims that may interfere with the wrapping process.
3. Inspect the Surface: Ensure the surface is smooth and free of scratches or dents, as imperfections can show through the vinyl.
Applying the Wrap
1. Measure and Cut: Unroll the bronze vinyl wrap and measure it against the section you want to cover. Cut it slightly larger than needed to allow for adjustments.
2. Position the Vinyl: Peel off the backing paper and position the wrap on the car. Start from one end and work your way across.
3. Smooth It Out: Use a squeegee to press the vinyl onto the surface, working from the center outward to remove air bubbles.
4. Heat and Stretch: Use a heat gun to soften the vinyl, allowing it to stretch and conform to curves and edges. Be careful not to overheat, as this can damage the material.
5. Trim Excess Material: Use a utility knife to carefully trim any excess vinyl around edges and seams.
6. Seal the Edges: Apply heat to the edges and press them down firmly to ensure a secure bond.
Final Touches
Once the wrap is applied, inspect your work for any bubbles or imperfections. If you spot any, use the heat gun and squeegee to smooth them out. Reattach any removed parts, and give your car a final wipe-down to remove fingerprints or smudges.(Car Vinyl Wraps)
Maintenance Tips
To keep your bronze wrap looking its best:
- Wash your car with mild soap and water; avoid abrasive cleaners.
- Use a soft cloth or sponge to prevent scratches.
- Avoid prolonged exposure to direct sunlight or extreme weather conditions.
Conclusion
Applying a bronze vinyl wrap may seem daunting at first, but with patience and practice, you can achieve professional-looking results. Not only does it transform your vehicle's appearance, but it also offers added protection for your car's paintwork. So grab your tools, take your time, and enjoy the process of giving your car a stunning new look!